School has begun! I’ve seen all kinds of “first day” photos on Facebook. Today, my brother and cousin start classes at college. Yes, summer is almost over. I believe summer lasts through August, and fall doesn’t begin until September does. So in these last couple weeks of summer, how better to celebrate than with these easy and tasty fruit pops?
Here’s what you’ll need:
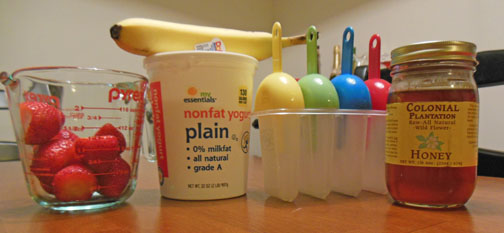
- Strawberries (a little over 1 cup)
- Banana (half of one, if that)
- Honey (not much)
- Yogurt (1/2 cup)
- Blender
- Popsicle maker-things (What are those called?)
Start by blending the 1 cup of strawberries with 1 Tbs of honey.
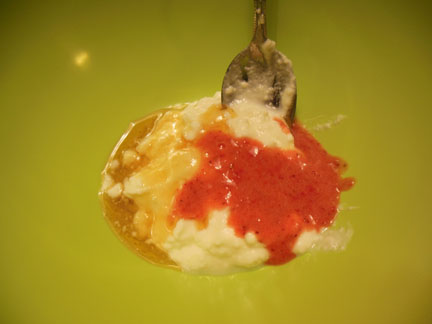
In a bowl, mix the yogurt with 1 Tbs of the strawberry puree and 1 Tbs of honey.
Slice up a couple strawberries and half a banana.
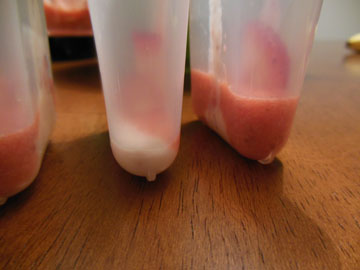
Now, gather everything you made. I set everything out on my new dining room table. Boy, do I love having a table! Anyways, you’re going to alternate spooning (not that kind of spooning!) the different mixtures into your popsicle makers — popsicle molds! That’s what they are called! I started by pouring a spoonful of yogurt into each mold. Then a spoonful of strawberry puree. Then I added a slice of strawberry to each mold. Then yogurt, puree and a slice of banana. Over and over until they were full. I placed my sticks in (you can use actual popsicle sticks if you don’t have awesome molds like me!)
It was hard to get photos of the alternating process, but here’s my attempt.
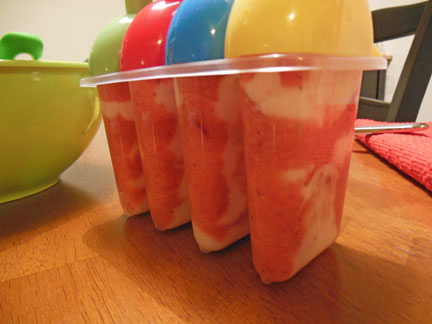
Last step: Put them in the freezer and wait. It should take at least four hours for them to freeze completely. This is the hardest step, because who wants to wait that long? I love how you can see the fruit pieces in them! See the strawberries and bananas?
Here’s the recipe for you!
- 1 cup strawberries
- 2 strawberries, sliced
- ½ cup yogurt
- 2 Tbs honey, divided
- ½ banana, sliced
- Blend the 1 cup strawberries with 1 Tbs honey
- In a small bowl, mix yogurt with 1 Tbs honey and 1 Tbs strawberry puree
- Add spoonfuls of the mixtures into the popsicle molds, alternating each mixture
- Add sliced strawberries and bananas into the molds as you add the mixtures
- Place sticks in molds
- Place in freezer for 4 hours
- Enjoy!
I altered this recipe from Taste-E.
Check out my other recipes here!


[…] great options are fruit pops, black bean salad or vegetables like asparagus, broccoli, green beans or zucchini. If you feel like […]