


(This post contains affiliate links. Thanks for supporting my blog!)
Need a gift idea for a little someone? Perhaps a son or daughter or niece or nephew? Maybe a grandchild or godson? Every year, my two nephews get loads and loads of toys from family at Christmas. I don’t know how their parents get all their gifts back to their houses. And the boys already have so many toys at home. So this year, I wanted to do something different. Both boys are 4 years old. They are learning their letters, and before we know it they will be able to start spelling and reading.
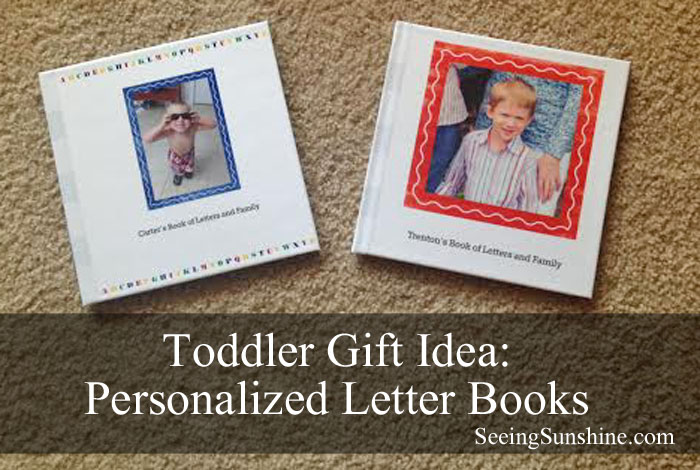
This year, we decided to give them both a book. But not just any book. I wanted to personalize their books and help them learn their letters through their family members.
Using Shutterfly’s photo books, I was able to create a Book of Letters and Family for each nephew — personalizing the books for them by using photos and names of people they already know.
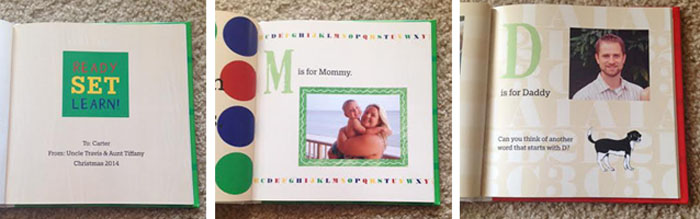
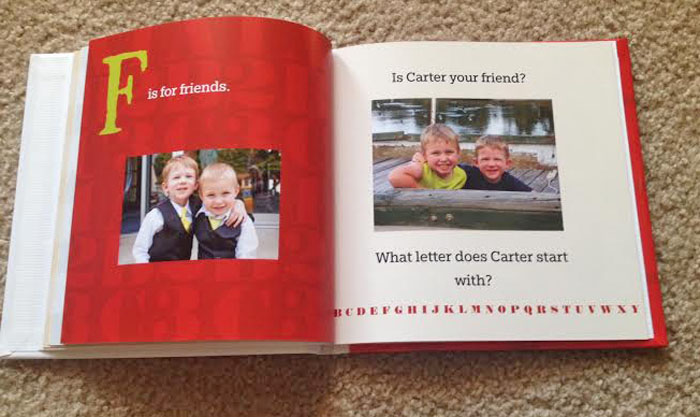
For each book, I used a photo of each family member along with their names, making the first letter large. For instance, M is for Mommy. D is for Daddy. Here are some of the pages so you can see what I did.
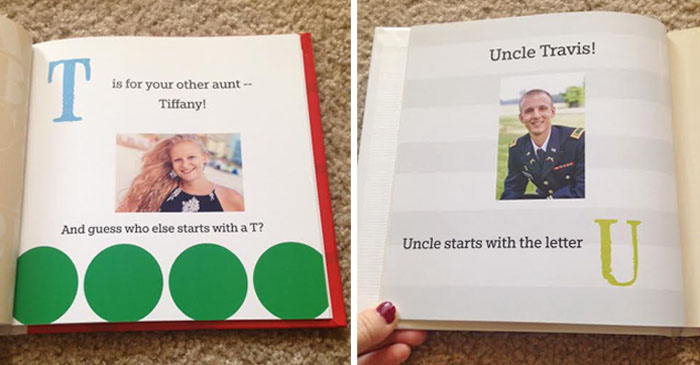
I didn’t go over every letter in the alphabet. Instead I focused on the letters that start each person’s name. Unfortunately, that’s mostly C, T, and M. Seriously, like every single person’s name in Travis’ family starts with C, T, and M. Except for Justin — he married into the family this year and finally brought in a new letter!
Here are some of the other pages.
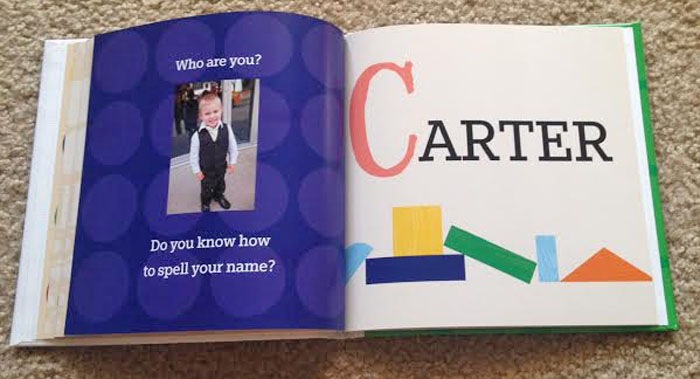
I knew the boys would like seeing their own photos in the books. So I made one page all about them. I want them to see how their names are spelled, so hopefully they can name each letter of their own name.
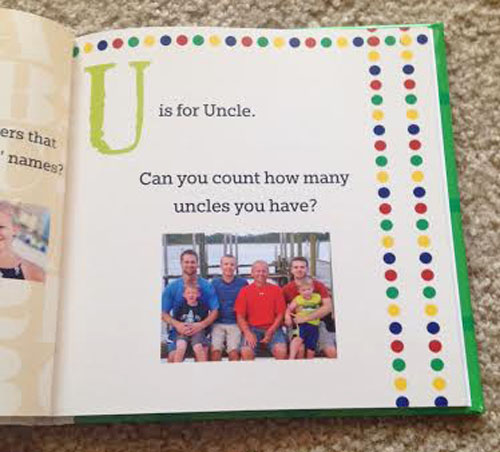
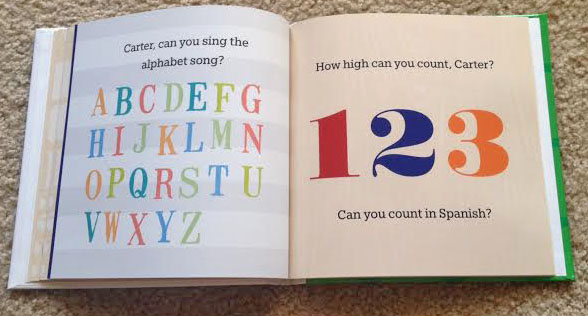
I finished the book with an alphabet page so they can see every letter. I know the boys love singing the alphabet song, so this gives them a chance to see each letter as they sing. I also wanted to challenge them to count as high as possible and to remember how they count in Spanish. I wanted these books to be something they can read with their parents — kind of an interactive book.
Here are the back covers, and I was able to put the title of the book on the spines as well.

Begin by signing into your account. If you don’t have one yet, register for one! New customers automatically get 50 free prints!
Go to the Photo Books. Choose the Simple Path or Custom Path. The simple path is just that — it’s much easier to work with. However, the custom path means you can move things around a lot more. The theme/style I used for the Letter Book is not available in the simple path, so if you want to make something similar, you’ll need to go custom path. I suggest using the custom path so you can, well, customize your pages more.
Next, choose the size of the book you want. I made 8×8 books for our nephews.
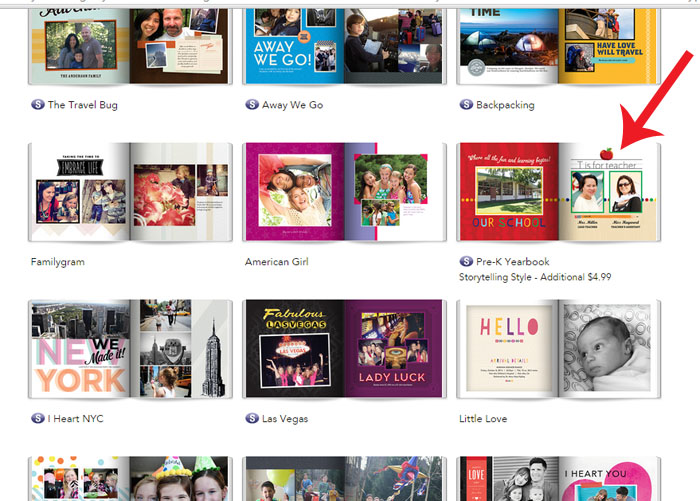
Now is my favorite part. Scroll through all the book styles and choose the one you want. They have so many fun and beautiful options! If you click on the style, you can scroll through a couple sample pages and get a better idea of the page backgrounds and embellishments.
If you are planning to make a letter book like I did, choose the Pre-K Yearbook style. (Now this style does charge an extra $5.)
Once you select your style, you’ll be ready to start customizing! You’ll immediately be asked to add photos. Go through your computer, your Shutterfly account, your Facebook — wherever — and get all the photos you’re going to want to include in this book. Once you’ve selected them all, click “Add to Photo Book.” All the photos will be placed in a strip at the bottom of your page.

Now, you’ll want to click “Customize page” at the bottom left side of the screen. Check out the purple arrow below. Clicking this allows you to add photos, text boxes, embellishments and more to your book. It also allows you to move everything around. So if you want to move a photo up higher on the page, you can.
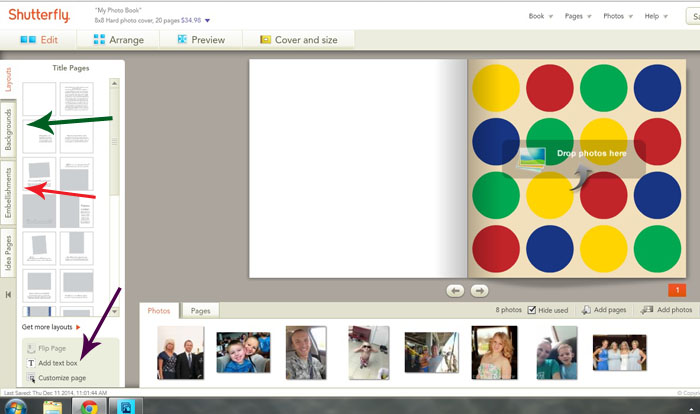
The green arrow shows where you can choose different backgrounds for each page. They have several to choose from in each style. Just drag and drop the backgrounds onto the page of your choice.
The red arrow shows the embellishment tab. These are basically stickers that match the style you choose. I used a lot of these to make my book more colorful and fun for the boys. Again, just drag and drop them on the pages you want. You can resize them and move them around on the page too. If you don’t see something you want, you can click “Get more Stickers,” which I’ve shown below with a pink arrow.
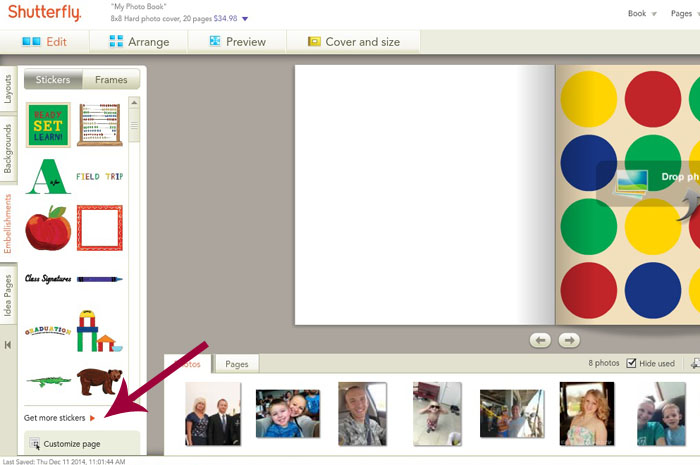
A box will appear with all their stickers available. Some of them may cost you more money, so be careful about that. You can also search at the top of this box if you know something specific you are looking for. The large letters I used in the boys’ books were from this More Stickers section. They each have an “S” next to them, meaning they are part of the Storytelling Style, which costs $5 extra.
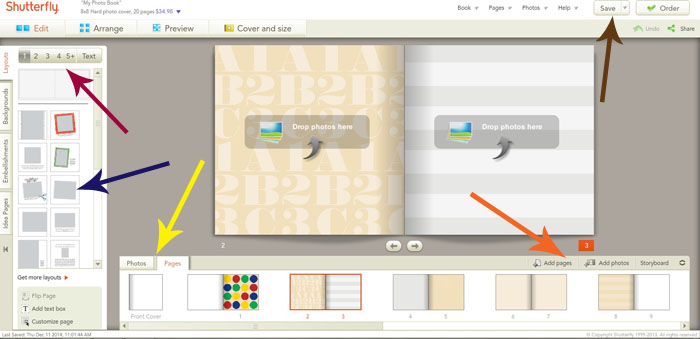
BEST ADVICE EVER: See that brown arrow below? Yeah, save. Save your project as you go. Basically click save every time you finish a page. When your internet goes out, or Shutterfly crashes, or your computer explodes, you’ll be happy you hit that save button.
Here are a few other things to know when making a photo book. You can decide how many photos you want on each page. Click the “Layout” tab. See that pink arrow below — that shows how many photos you want on each page. You can choose the layout looks depending on how many photos you want on each page by clicking on the layout shown — check out the blue arrow.
The yellow arrow shows where you can look at either your photo strip to choose which photos you want for each page OR you can look at the pages and choose which page to design next.
If you need more photos or more pages to fit all your photos, notice the orange arrow. Boy, I hope you aren’t color blind! Just know that adding pages means an extra charge. But you can add as many photos as you want!
When you are all finished, click “Order.” It will take you to a preview page where you can look at all your pages and see what a great job you did, as well as anything you need to change.
Click here to head to Shutterfly and make your own book!
