


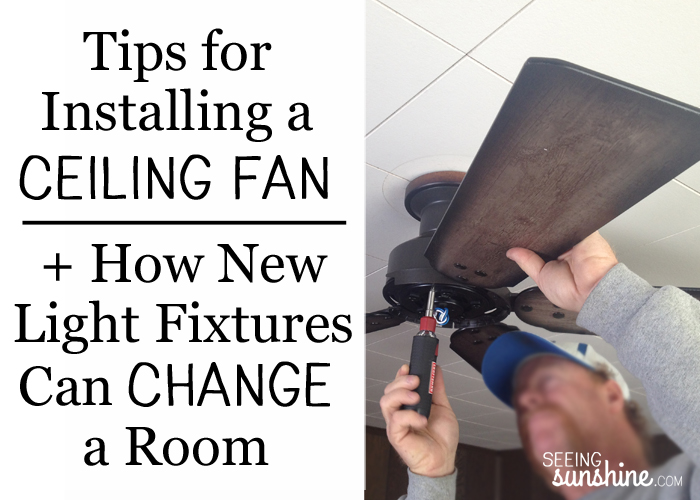
We are slowly changing things in my “new” house. One of the biggest changes we made that really made a difference in how the house looked was pulling up the carpet and cleaning the original hardwood floors. Now, we’ve moved from the floor to the ceiling. We have been slowly installing new light fixtures in each room — and it is making a big difference in what the house looks like! We aren’t finished with all of them, but I wanted to show you some of the changes.
(This post contains a few affiliate links. Check out my full disclosure policy here.)
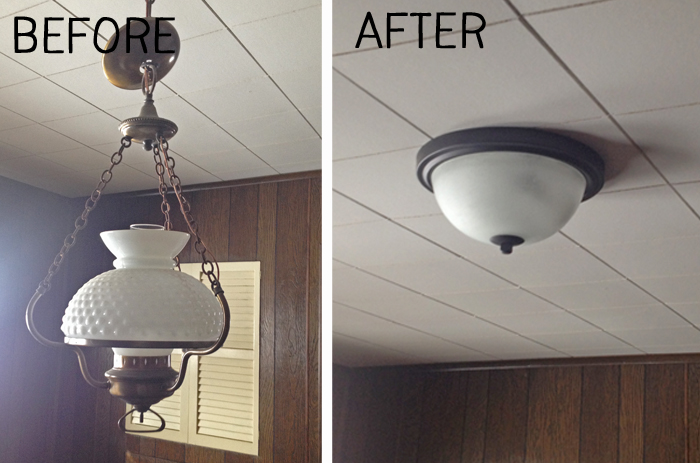
The very first light we changed was in the dining room. It was a big hanging light that did not match our furniture or decor, and I’d imagine it was probably as old as me! We switched it out to something much more simple.
I really wanted a ceiling fan in my bedroom, and it was important for me to have one that had a remote. I love being able to climb into bed with the light on so I can read or do other things, but then I don’t have to get back up out of bed just to turn the light off. Remote controls are awesome! Changing this light made a huge difference — check out that before photo!
For the bedroom, I bought a Honeywell Quick 2 Hang Marston ceiling fan.
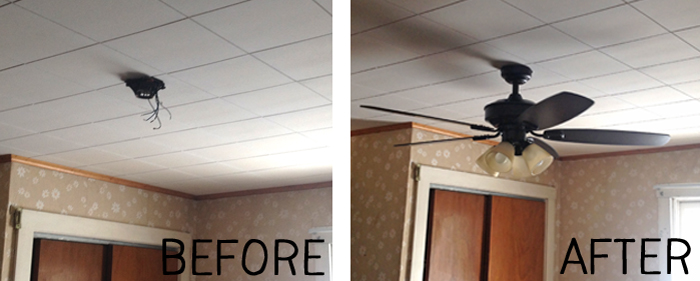
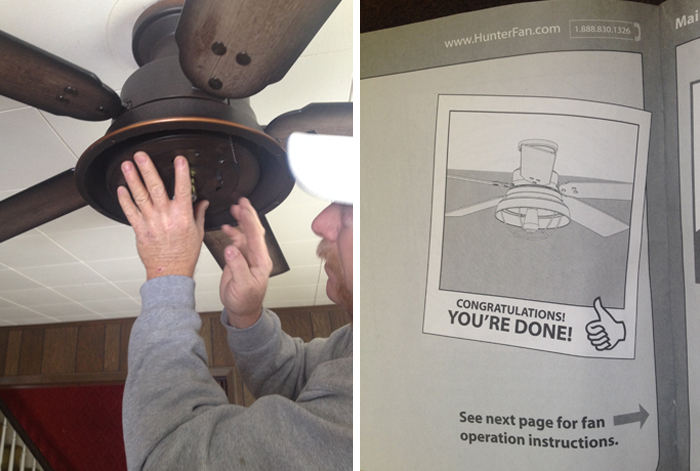
I helped my dad install the new ceiling fan in my living room, and I learned a lot in the process. I want to share some of the tips I learned about installing a ceiling fan with you!
Tips for Installing a Ceiling Fan
- Be sure to turn the light switch off before beginning. Or turn the power off completely if you really want to be safe.
- Have a screw driver — in a few different sizes — handy. You are going to need it!
- Do not take out all of the hardware before you start. Keep all those little pieces in their bags until you need each one. I started to open up all the bags at once, which would have been a big mistake! Each bag is marked with a letter, shape, number, or color, so that as you read the directions you can know which hardware you need to be using.
- Speaking of directions, be sure to read the instructions thoroughly when installing your new ceiling fan. Take a close look at the pictures, and be sure to follow all the notes they give you.
- Black wires = Power wires. White wires = Common wires. Green wires = Ground wires.
- Always match the wires in color. Put the black wire with the black wire and the white wire with the white wire.
- Use wire nuts to keep yourself safe while using live wires.
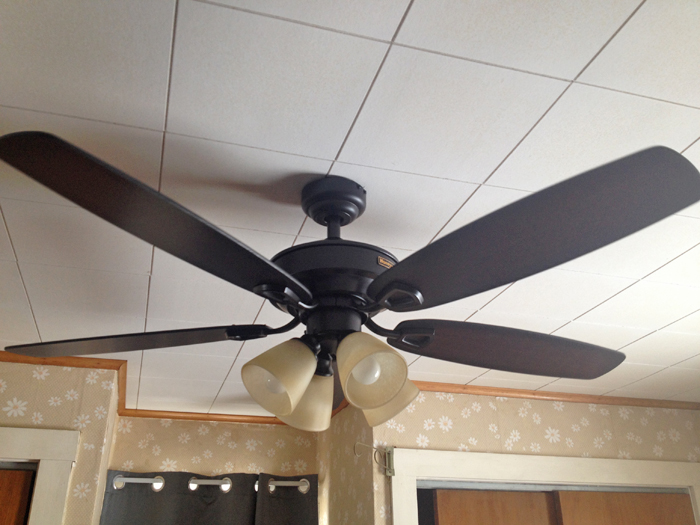
- Hunter is one of the best ceiling fan brands on the market. They are so confident in the quality of their products that they offer a lifetime warranty on all their ceiling fans. That’s why I chose Hunter for my living room! Oh yeah, and because I fell in love with this style!
Follow those tips and the instruction manual and before you know it you’ll be finished!
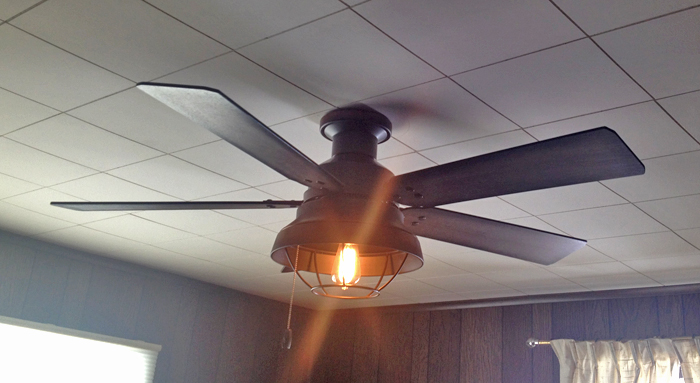
Here is the before and after of our living room ceiling fan.
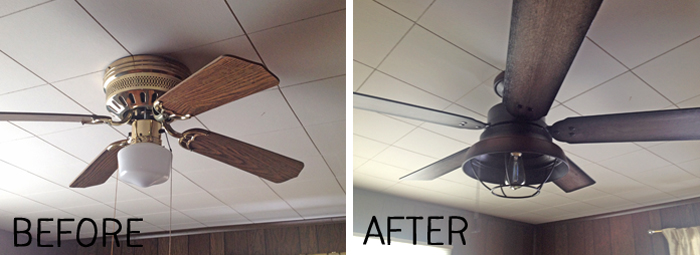
For the living room, I bought a Hunter Landsdowne — Covered Porch Series — ceiling fan. I love the barn wood look of the blades and how it also incorporates metal. A lot of our furniture in this room has both wood and metal, so it fits really well.

We still have two more light fixtures to change in the downstairs of the house. But those will come later. Don’t worry, I’ll share once they are finished!
Check out my Pinterest board DIY for more home projects and tips!
Great article with a lot of valuable information! It covers a lot of very important information that most people overlook when installing a ceiling fan.
Kevin Nguyen recently posted…7 Things You Need to Know about Ceiling Fans before Buying One
Thanks Kevin!
The article helps me feel easier to install the ceiling fans for my new house, and gives me a simple method. At first, I intended to hire a technician but you changed my mind. I decided to install those on my own.
Martin recently posted…Quick and Easy Ways to Clean Your Ceiling Fan
This is an amazing share!!
Installing a ceiling fan seems quite complicated but I’m sure after reading the above stuff, anyone can do it with great ease.
The significant thing is disconnecting the wires to the existing ceiling box and removing it.