Travis and I recently bought our first home that we will live in together. (Remember how we have bought a home before but only I lived in it and since we’ve sold it?) Anyways, with buying a house comes a lot of responsibility. Unless you build or buy a home brand new, there are going to be things you’ll want to fix or update or change to match your preferences. I didn’t realize quite how much work we’d want to do on this house. I knew we’d want to paint, and I was hoping we could get new floors … but now that we’ve lived here awhile, we have a huge list of to-dos. The good news is, we have plenty of time to get them done! One of the first things on our list was to make some of our windows private.
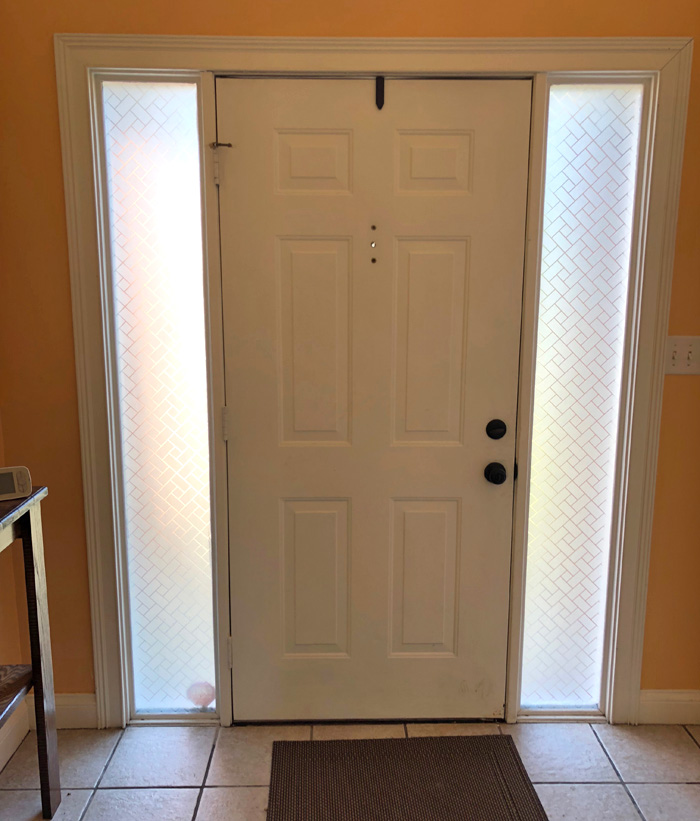
Our front door is surrounded by two long windows that go from the top of the door down to the floor. Raylee and I enjoyed looking out those windows to see who was pulling in the driveway. What we realized we didn’t like was that if someone was at the door, they could usually see us before we could see them. So if I realized I didn’t want to open the door, they would have already saw me looking at them! We decided for privacy and safety reasons, we wanted to make these two long windows private.

Because of their odd size, we would have had to get custom blinds made, which was expensive. Then, we began to look into privacy window film. It’s basically a type of paper that you cut to the size you need and you stick it on your windows.
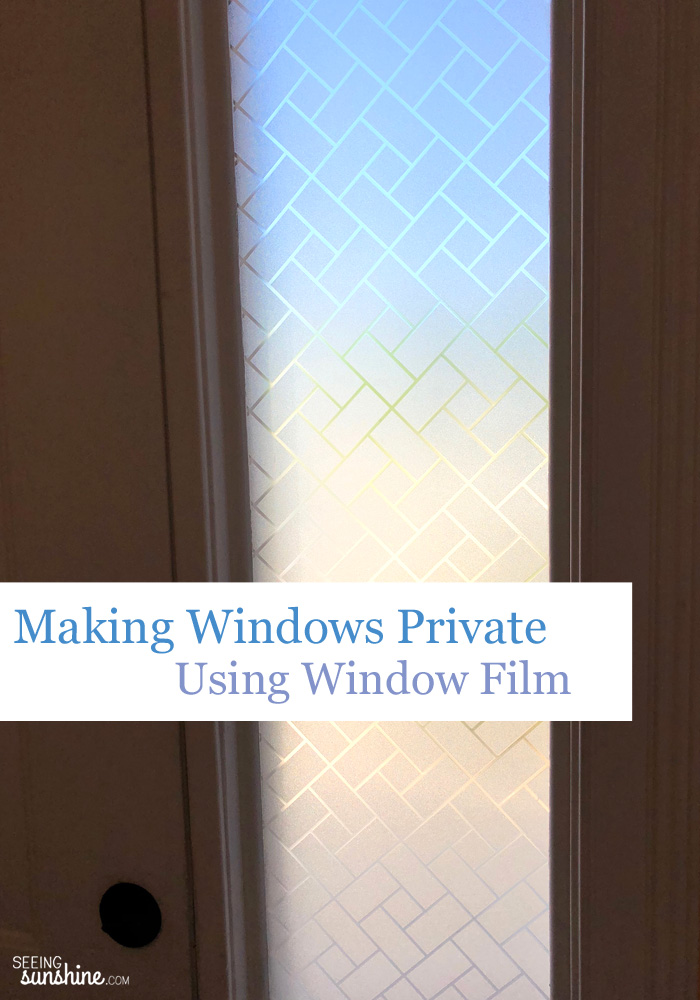
I found some I liked on Amazon. We used the WPT Non-Adhesive Static Frosted Privacy Window Film in the Frosted Stripe design. I actually added this to our windows all by myself while Raylee napped, and I’m pretty proud of how it turned out. It was really easy actually. I recommend you also get the Gila Window Film Complete Installation Kit too. It really helped me!
Step-By-Step for Making Your Windows Private
Here are the steps you use:
- Measure your window.
- Cut the film to the right size, adding about an inch to all sides.
- Clean your window.
- Spray the window with the application solution from the Installation Kit.
- Pull the backing off the window film.
- Stick the window film to your window, leaving that extra on each side. What’s great about this stuff is that it doesn’t have glue on it so it’s easy to pull off and readjust if you need to.
- Use the flexible card squeegee from the installation kit to scrape the window film into place and removing any air bubbles. (This is the part that took the longest time for me, but you get the hang of it.)
- Finally, use the utility knife from the installation kit to trim all the edges.
Here are some before and after photos.


There are tons of different designs you can choose from with window film. We loved this design! What do you think? We are really happy with how it turned out, but if we weren’t, we could easily remove these!
Do you have odd-shaped windows you’d like to make private?


I’ve been looking at these films at my local hardware store for a while. Is this particular film design one that makes it impossible to see “into” your house completely (even your shadow), but one that still allows you to look out?
shan recently posted…Secret Island In The South: 10 Cool Things To Discover With Older Kids
You can’t see in or out at all. I’m not 100% positive about shadows, but I’m pretty sure it’s fully private. Hope that helps!