Since moving into our new house, we have so much more space than we used to. We have two living rooms! All of the furniture we already had went down into the basement living area, which left our main living room on the first floor completely empty. We plan to just get furniture pieces as we see them and can get a good deal on them.
One day, to get out of the heat of the summer yet out of the house, Raylee and I walked the lanes at a local Peddler’s Mall. Each booth is filled with furniture, household items, clothes, books, and who knows what all! There’s lots to see. While there, I found an antique hutch that I immediately loved. I sent a picture of it to Travis even. It was originally priced at $175 but had been marked down to $125. I thought that was a fantastic deal for such a large piece, but I also knew we weren’t really looking to buy furniture just yet.
Fast forward a couple weeks and I was still thinking about that hutch. Travis and I decided we should get it! I mean, I had been showing everyone the picture of it and talking about what I’d do to fix it up. I figured it wouldn’t be there anymore, though, but it was! In fact, we were able to talk them down to $100!
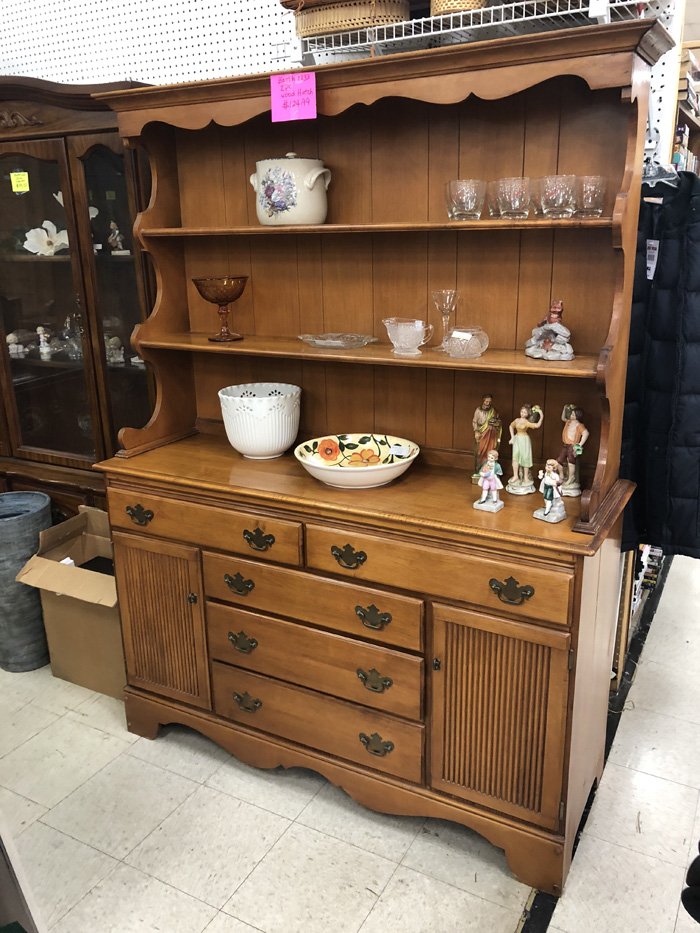
Then the work began! Travis fixed up the parts that were broken or loose, and I began sanding. Let me just share everything we did!
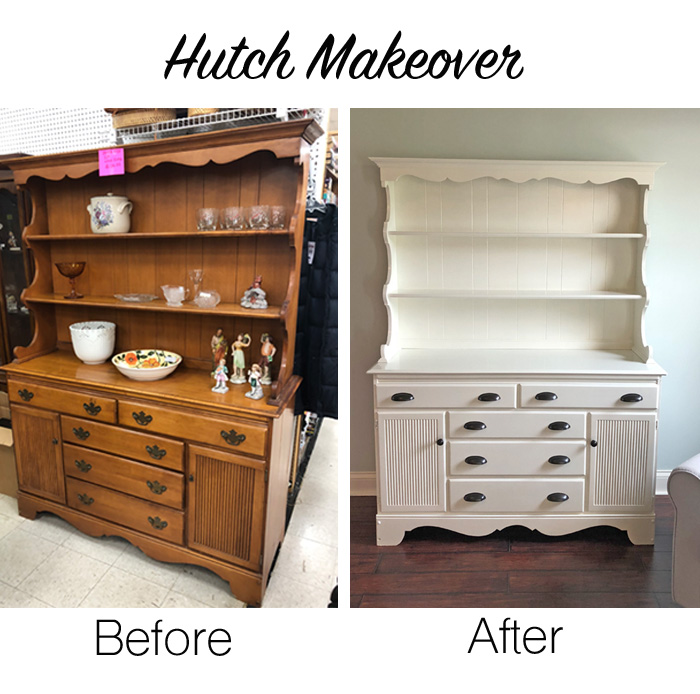
Steps to a Hutch Makeover
Fix any broken or loose parts.
Remove hardware.
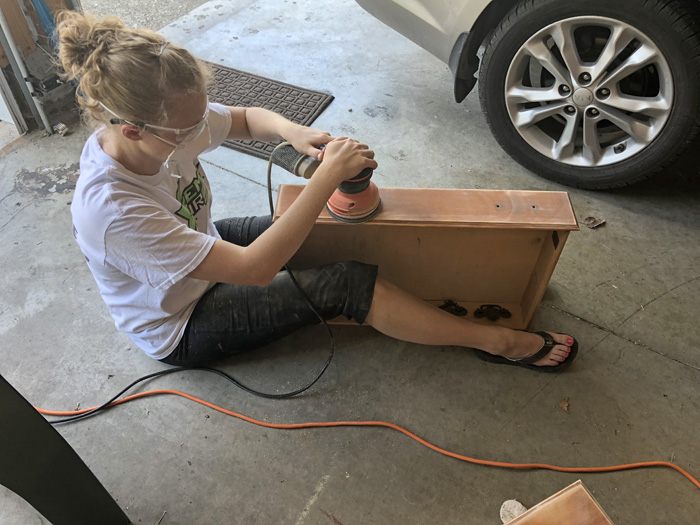
Sand the entire piece — you want to remove the glossy look and make it smooth.
Clean it — use a shop vac on it, then use a microfiber cloth to wipe all dust off, and lastly use a damp washcloth for a final run down to make sure there’s no dust leftover.
Start priming! Here’s the primer I used called Kilz 2 Latex Primer.
Once it is all primed and completely dry, start painting. I used two coats of Valspar Furniture paint in Alabaster with a satin finish.

Once all the paint is dry, you need to seal it to keep the paint from chipping and just make everything last longer. You don’t want all this work to go to waste! I recommend wiping everything down one more time, especially if you are doing the work outside or in a garage like I was. I did two coats of the seal using Minwax Polycrylic Protective Finish in Satin Clear.
Buy new hardware and attach it. Reassemble.
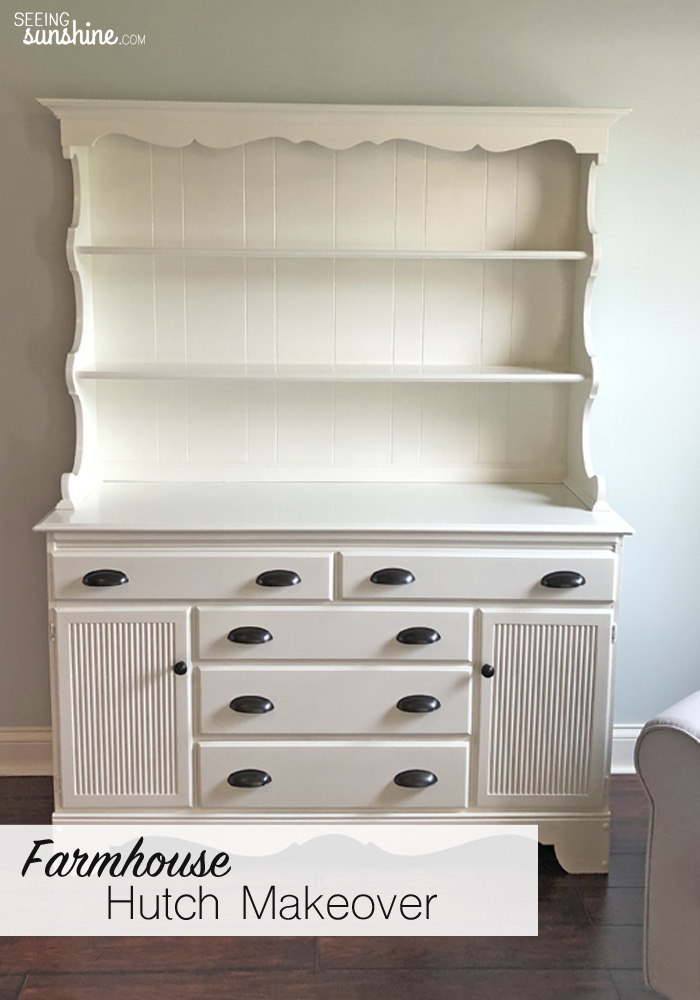
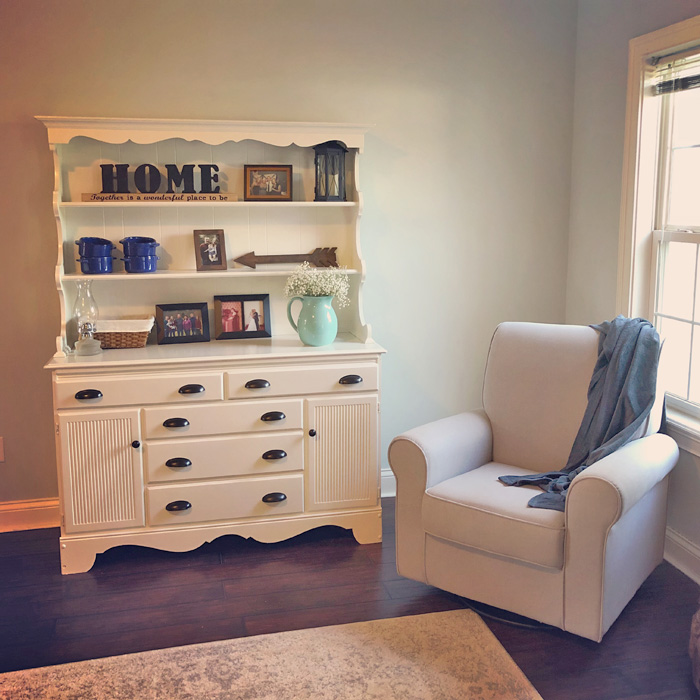
Here’s what the finished product of our hutch makeover looked like! I couldn’t believe how much I loved it and how proud I am of it and the work I put into it. This hutch makeover was my very first project like this, and somehow it turned out exactly like I pictured. Yay!

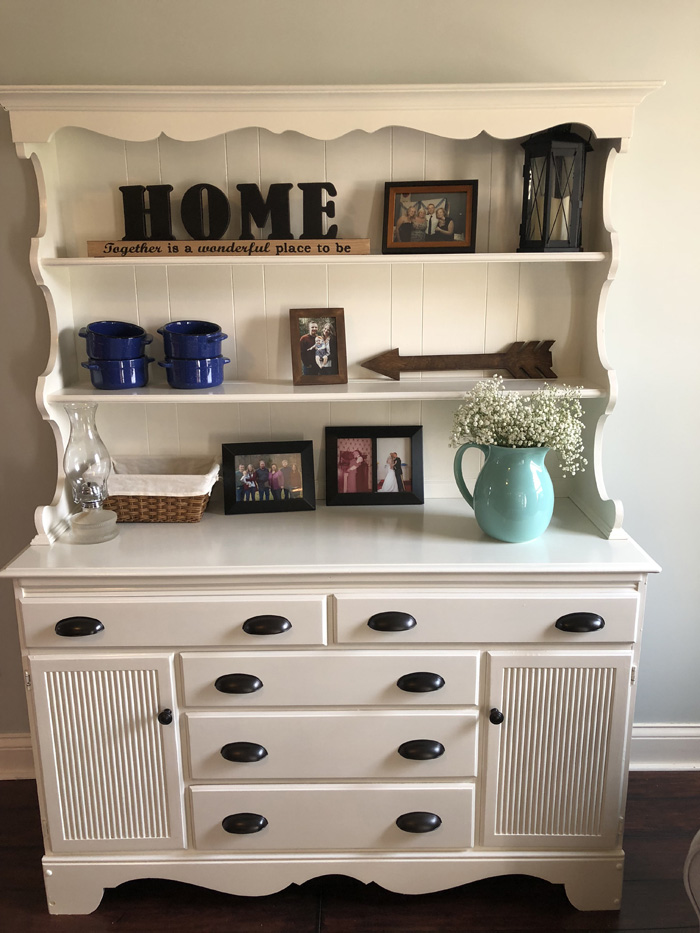
Now, one corner of our main floor living room has some furniture, and it’s my favorite spot in our whole house!
Check out some of my other home projects:
Follow me on Instagram!


