For the longest time, I have dreamed of giving my girls a rainbow playroom. The room we used for a playroom was painted purple when we bought the house. You’d think as a mom of girls, a purple playroom would be nice. However, the purple made the room pretty dark (the room is in the basement with no windows, so it’s hard to get good lighting). The walls also were pretty scuffed up and needed a fresh coat of paint. So I decided to use the money I got for Christmas to tackle this playroom project I’d been dreaming of.
I wanted to do a rainbow-inspired playroom for two reasons. First of all, it’s bright and fun and gender-neutral for the most part. But the main reason is that we already had so many toys and other things that would fit really well into this theme and color scheme. I love that our toys can coexist as decorations!
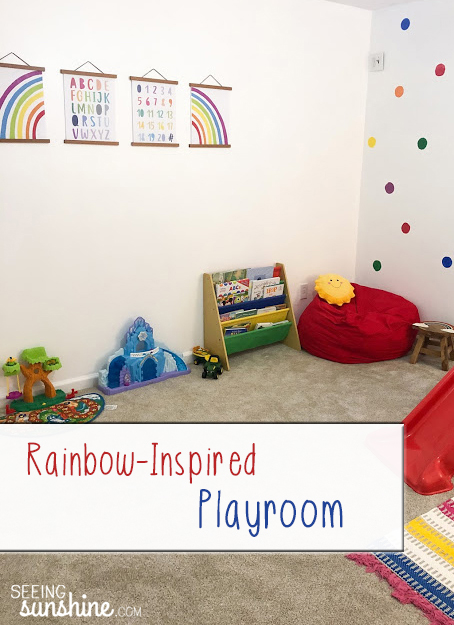
Rainbow Playroom Before & After
Here was the room before I began this project.
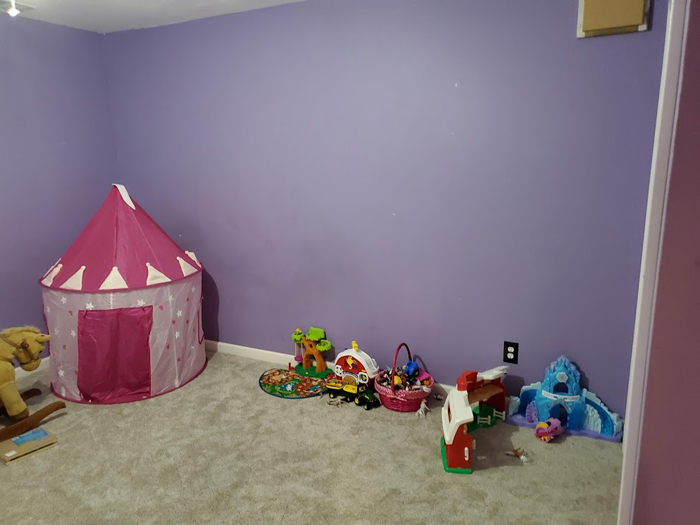
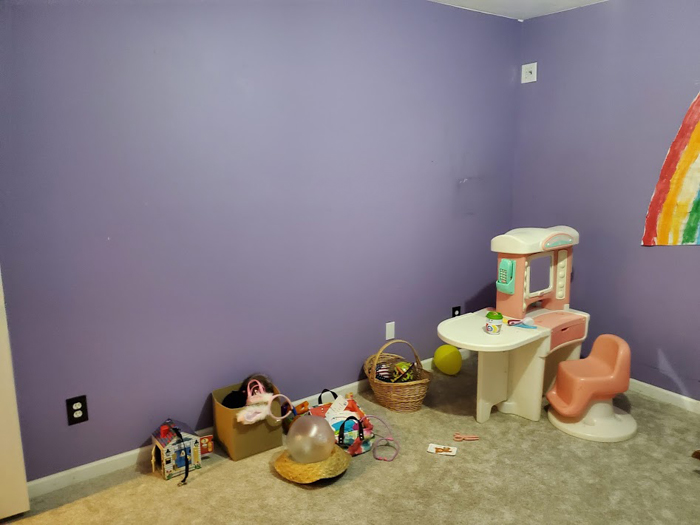
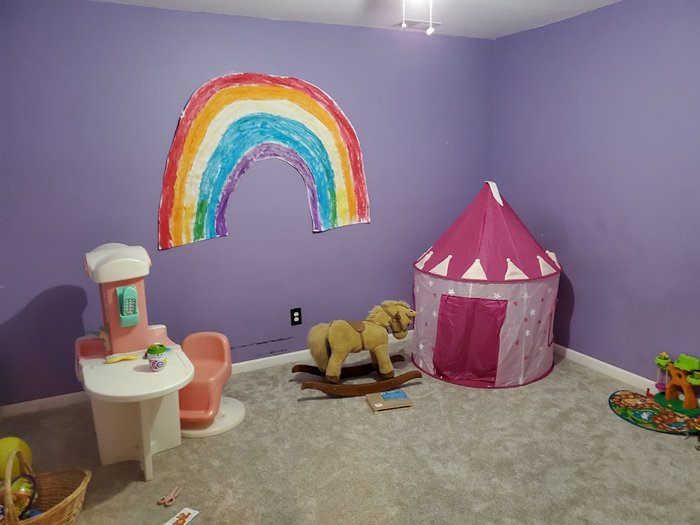
I started by painting the room white. Going from purple to white is not easy. It took three coats! But it helped that the trim and ceiling were already white, so I wasn’t worried about taping or precision when cutting in. Honestly, I slapped those three coats on and repainted the trim and doors in a matter of about four days. I really wanted to get all the paint finished before Travis went back to work from his Christmas vacation. It’s not fun trying to paint a room with kiddos!
We also had to get new outlet and light switch covers. It’s little details like that that actually make a big difference. Our previous homeowners were fans of black covers, so we switched them to white covers. Also, a lot of those toys in the before photos got moved to other areas of the house.
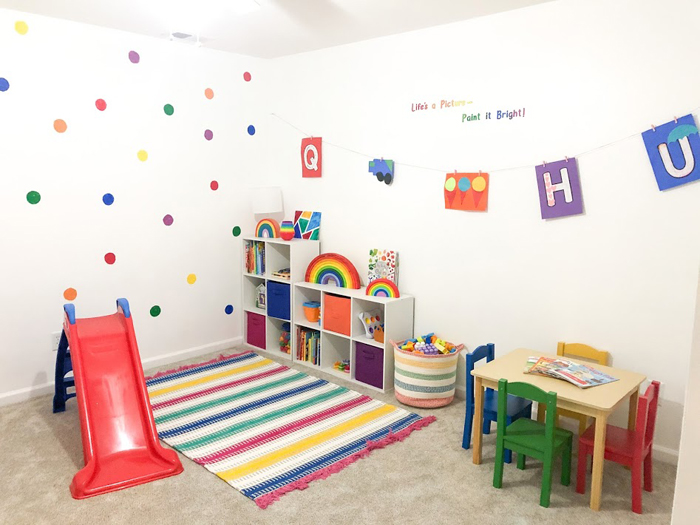
I knew I wanted to do an accent wall. I decided to go with rainbow-colored polka dots! I cut out sponges into circle shapes to create the dots. The trick to this is to put way less paint than you’d expect on the sponge — otherwise, it starts to run and drip. I learned this really quickly!
By painting the room white, the whole room looked so much bigger, cleaner, and happier. I kind of hated going to that room to play before. It just felt dark and dingy. But now, we all love it!
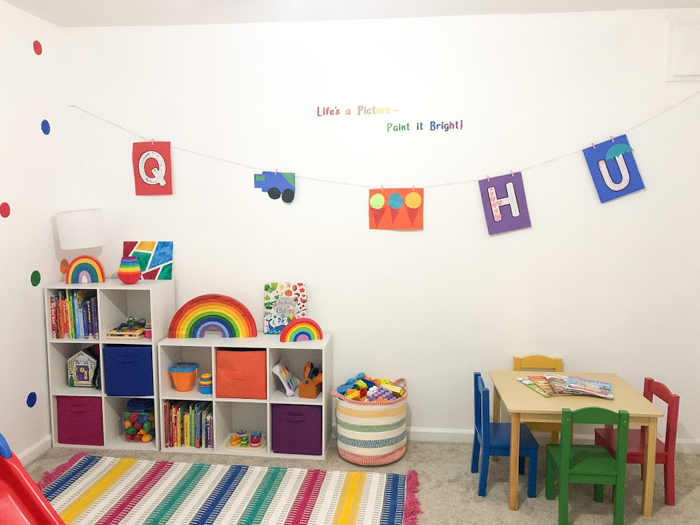
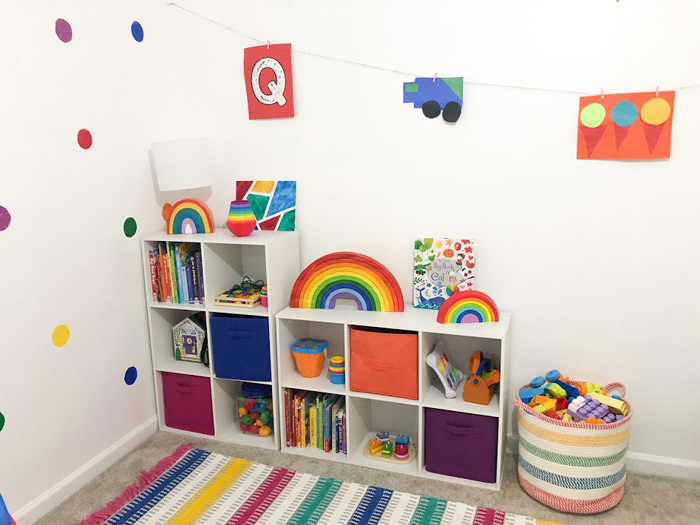
Once all the painting was done, I started decorating — my favorite part! I got these two 6-cube shelves from Target and put them next to each other (one vertical and one horizontal) to make it look like one big shelving unit. Most of my decor pieces came from Target. Pillowfort is a great brand with so many cute playroom or kids’ room ideas. When I was decorating the rainbow playroom, all of Target’s Pillowfort brand was 40% off! Woop!
Details & Links
Everything that isn’t linked here in this blog post can be found on my LiketoKnowIt page.
Here’s links to some of what we used in and on our shelves:
Small Wooden Rainbow — the large wooden rainbow was made by my father-in-law and painted by me!
Speaking of books, as you may have noticed, I used a couple of the cubes for children’s books. We own a lot of books because I am a book hoarder, and I’m not ashamed of it! I want to instill a love for reading in my kids, so we have books all over the place. I arranged them by color in a rainbow look. Yep, I’m that person, and I love the way it looks!
Rainbow Nesting & Stacking Cups
Storage bins — the ones I bought came from Menards, which I can’t find online. But here are some that look similar and come in different colors. ClosetMaid Fabric Bins Having a place for the toys makes keeping the room organized so much easier. We clean up after we play in this room, and it doesn’t take that long because we know where everything goes!
The blue bin is for all dress up/pretend play. The orange bin is for the doctor kit and more pretend play items. The pink bin is for all balls. Who knew you could have so many? The purple bin is for all little people figurines and accessories.
Stack & Sort Board that’s similar to ours
The rainbow-colored toy possibilities are endless. That’s why this color scheme is so perfect! Ok now, I’ll share links to other things in the room.
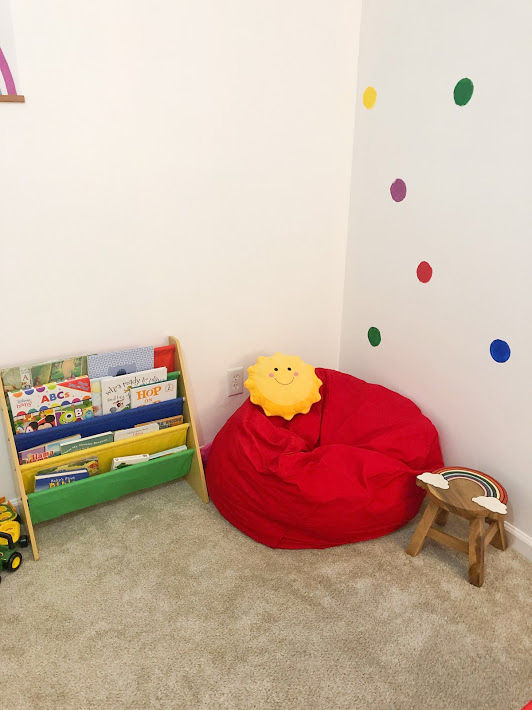
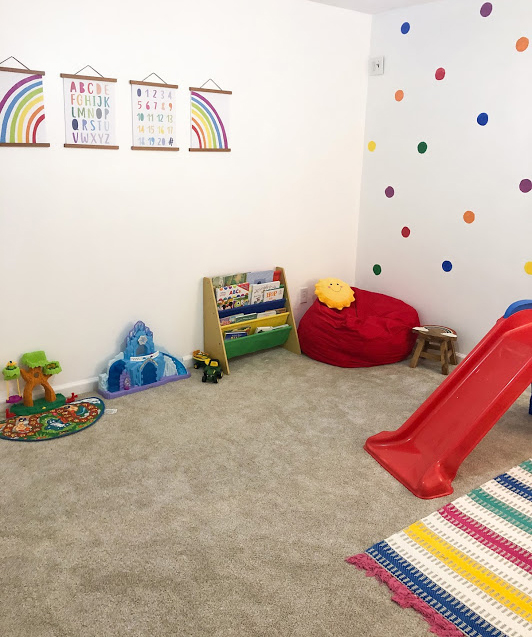
Bookshelf — I actually got this for free when someone in our neighborhood was getting rid of it. It just needed the screws tightened. I got it when Raylee was still just a tiny baby. This bookshelf is actually what began my idea of a rainbow playroom.
Bean Bag Chair — This is a bean bag cover that I got and we filled it with stuffed animals! It makes for a great storage spot for the zillions of stuffed animals we have, and now we have a cute little comfy spot for reading.
The small rainbow stool next to the bean bag chair is from TJ Maxx, so I can’t find it online anywhere. But here are some cute alternative stools that are bright and fun — Hand-Painted Fruit Stools.
Rainbow Playroom Wall Art
OK finally, let’s talk about the walls. So I already told ya how I did the rainbow polka dot accent wall. I also used a stencil to paint “Life’s a picture — paint it bright!” on the other wall. My sister-in-law made the stencil for me using her Cricut. I painted it and then outlined it with Sharpie so it would pop a little more. I used twine and clothespins for an art wall. Now, Raylee can hang up any art she creates in this space.
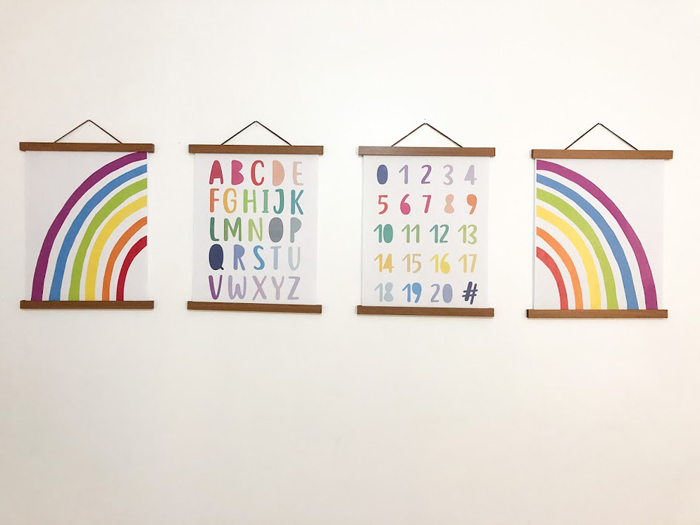
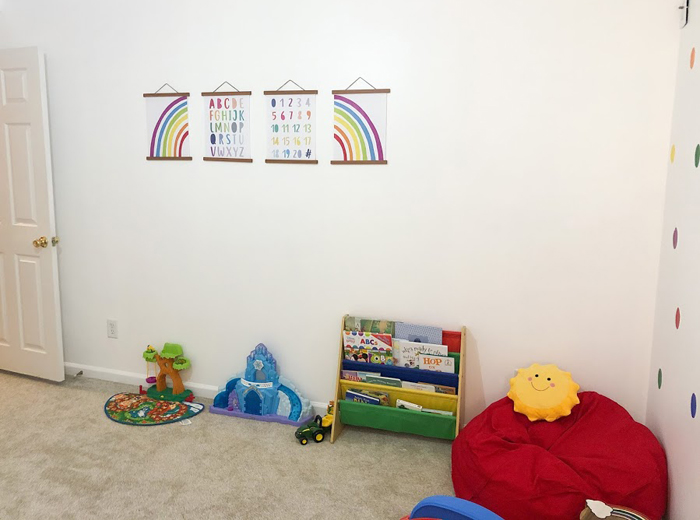
On the other wall, I bought this design from Etsy and had it printed at Staples. Then we bought these frames from Walmart and put them up. Props to Travis for fixing the frames so they all would be the same size. This was a total pain, to be honest. But it turned out great!
Since we had a majority of these items already and used a lot of toys as decor pieces, this room was a pretty simple flip. From drab to fab I would say! The whole thing took one month to finish — that includes cleaning out and reorganizing the closet, which is where we store our luggage and board games. We all love how it turned out!
Does your house have a designated playroom? Would you consider doing a rainbow playroom after seeing my photos?


